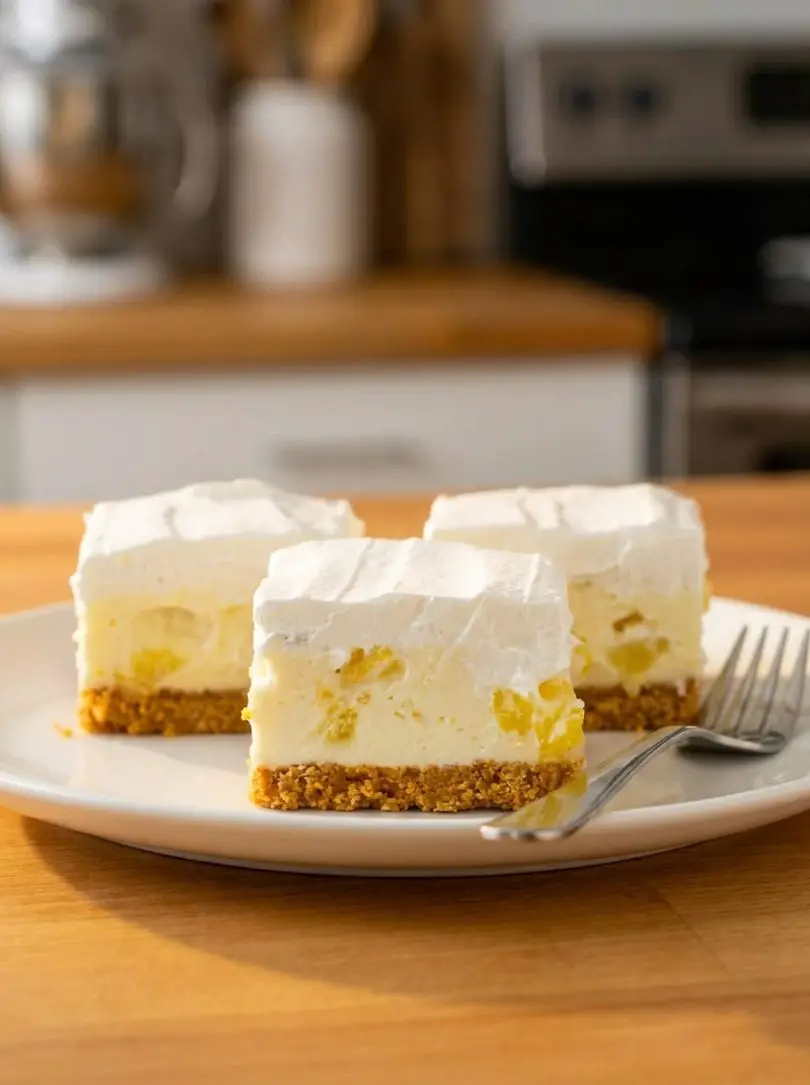
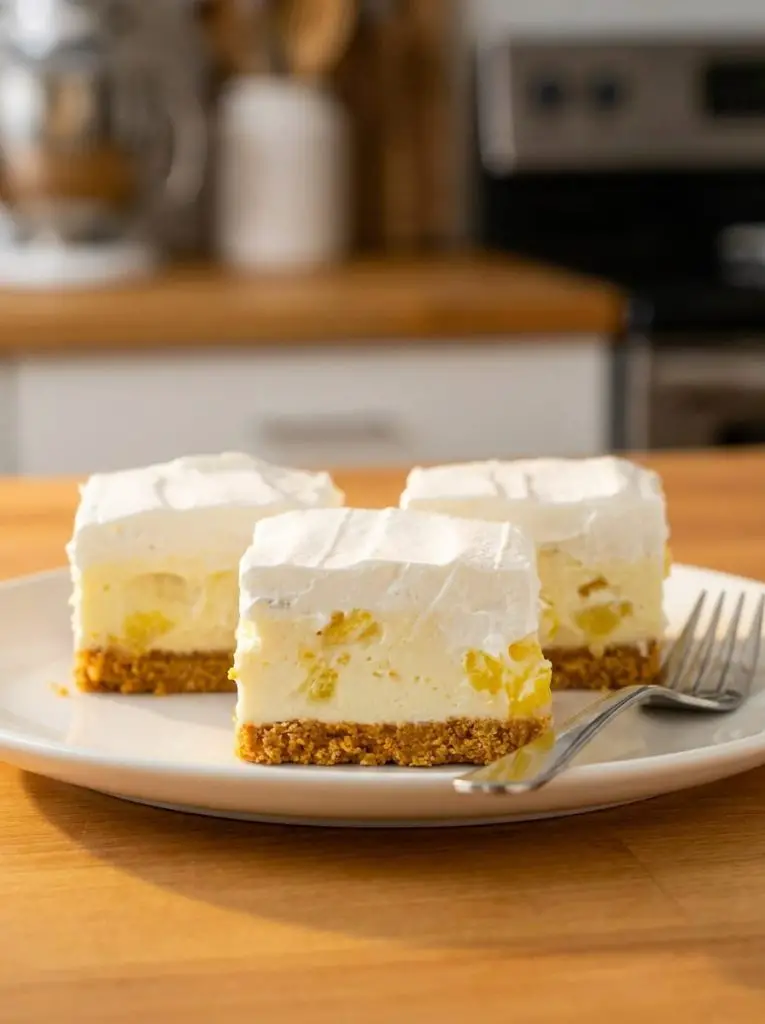
A creamy, tropical twist on a classic East Coast no-bake treat — graham crumb base, pineapple-cream cheese centre, and a cloud of vanilla whipped cream on top.
Prep time: 30 minutes | Chill time: 4+ hours (or overnight) | Yield: 36 small squares
Why You’ll Love This Recipe
If you grew up on the East Coast of Canada, there’s a good chance pineapple squares showed up at every wedding shower, church supper, and Christmas cookie tray you can remember. They’re part of a whole family of Newfoundland “cookie bars” — no-bake treats built on a buttery graham crumb base with a rich, sweet filling pressed on top and chilled until firm.
This version leans on fresh pineapple instead of canned, and swaps the old-fashioned raw-egg buttercream for a cream cheese frosting, giving the filling a tangy edge that balances all that sweetness. A layer of lightly sweetened whipped cream on top keeps things fresh instead of cloying. The result tastes like a cross between pineapple fudge and cheesecake, sitting on a crisp graham crust.
Because they’re rich, they’re traditionally cut small — think Nanaimo bar portions, not brownie portions.
Ingredients
Graham Crumb Base
- 1 ⅔ cups graham cracker crumbs
- ⅓ cup unsalted butter, melted
- 3 tablespoons granulated sugar
Pineapple Cream Cheese Filling
- ½ cup cream cheese, softened
- ½ cup unsalted butter, softened
- 5–6 cups icing (powdered) sugar, sifted
- 1 teaspoon vanilla extract
- ¾ cup fresh pineapple, very finely diced and thoroughly drained
Vanilla Whipped Cream Topping
- 1 cup heavy whipping cream
- 3 tablespoons icing sugar
- 1 teaspoon vanilla extract
How to Make Pineapple Squares
Step 1: Build the Crumb Base
In a bowl, mix the graham crumbs and sugar together, then pour in the melted butter. Let the mixture sit for a minute or two so the butter can fully soak into the sugar and crumbs — this helps everything bind together instead of turning powdery. Stir well, then press firmly and evenly into the bottom of a parchment-lined 9×9-inch pan. Use the back of a measuring cup to really compact it; a loose base will crumble when you cut the squares later.
Step 2: Make the Pineapple Filling
Beat the softened butter and cream cheese together until completely smooth and lump-free. Mix in the vanilla extract. Add the icing sugar gradually, about a cup at a time, beating well after each addition. You’re aiming for a very stiff frosting — much thicker than you’d use to frost a cake, since it needs to hold its shape as a filling layer rather than spread thin.
Fold in the drained pineapple last. Drainage matters here: pat the diced pineapple dry with paper towels or let it sit in a fine mesh strainer for a few minutes first. Excess juice will thin out the filling and can make it weep once chilled.
Spread the filling evenly over the chilled or firm crumb base, smoothing the top with an offset spatula.
Step 3: Chill
Refrigerate the pan for at least 4 hours, though overnight is better. This filling needs real time to firm up into that fudge-like texture — don’t rush this step or the squares will be too soft to cut cleanly.
Step 4: Top with Whipped Cream
Once the filling is firm, whip the cream, icing sugar, and vanilla together until stiff peaks form. Spread evenly over the chilled pineapple layer. Return the pan to the fridge until you’re ready to serve.
Step 5: Slice and Serve
Use a sharp knife, wiping it clean between cuts, to portion into small squares — about 36 pieces from a 9×9 pan. Keep refrigerated until serving.
Tips for Success
- Use fresh pineapple, not canned. Canned pineapple holds excess liquid even after draining, which can make the filling too soft to set properly.
- Don’t skip the drying step. Pat diced pineapple dry, or let it drain in a sieve for 10–15 minutes before folding it in.
- Cut them small. These squares are dense and sweet, closer in richness to fudge or a Nanaimo bar than a typical dessert bar.
- Want thinner squares? Use a 9×13-inch pan instead, and increase the crumb base and whipped cream topping by about 1.5x — but keep the pineapple filling amount the same. You’ll get roughly 50% more squares, each noticeably thinner.
- Swap the fruit. Finely diced peaches or well-drained mandarin orange segments both work well in place of the pineapple, if you want to try a variation.
Storage and Freezing
Store pineapple squares in an airtight container in the refrigerator for up to a week.
To freeze, it’s best to freeze the base and pineapple layer without the whipped cream topping. Wrap tightly and freeze for up to 2 months, then thaw in the fridge and add the whipped cream just before serving. If you do want to freeze them fully assembled, a stabilized or non-dairy whipped topping will hold up better in the freezer than fresh whipped cream.
Frequently Asked Questions
Can I use canned pineapple instead of fresh? You can, but drain it very thoroughly and pat it dry first. Fresh pineapple gives a firmer, less watery filling.
Why is my filling too soft to cut? Two common culprits: not enough chilling time, or pineapple that wasn’t drained well enough. Give the pan a full 4+ hours in the fridge, and don’t skip drying the fruit.
Are these overly sweet? Yes — intentionally so. They belong in the same category as fudge or Nanaimo bars, which is why they’re traditionally cut into small squares rather than large bars.
Can I make these ahead for a party or shower? Absolutely. They’re an ideal make-ahead treat since they need to chill overnight anyway. Just add the whipped cream topping within a few hours of serving for the best texture.
Pineapple squares are one of many no-bake cookie bar recipes with roots in East Coast Canadian home baking — a category that also includes classics like Nanaimo bars, made with layered, chilled fillings instead of oven baking.

Leave a Comment